- 09
- Feb
How To Repair Laptop Adapter
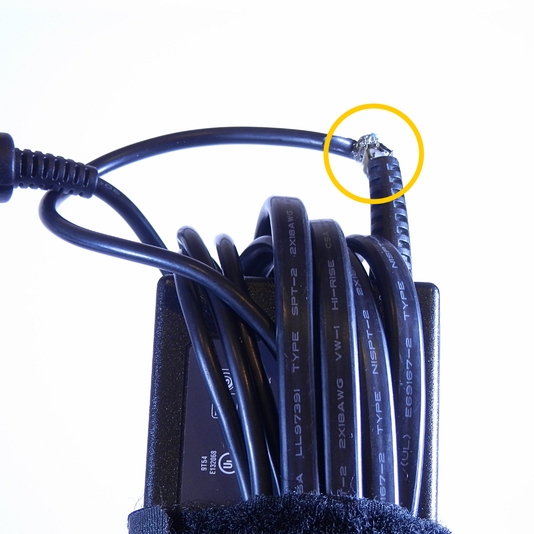
Laptop adapters are prone to get defected with the passage of time. Most of the people usually just stuff their laptop charger in their luggage bag which causes the power cords to become faulty.
So, if your laptop charger isn’t charging your laptop, there might be a very good reason that your laptop adapter is faulty. We’ve got your back with our brief and effective guide on how to repair laptop adapters. It’s simple, you don’t really have to be a professional in it.
First Things First!
The only thing you need to be conscious about is the exposed circuitry. You don’t really need to have professional knowledge before starting to repair your laptop adapter, but you need to be quite attentive while dealing with the circuit.
DO NOT TOUCH any exposed circuit unless you know what you’re dealing with.
Step 01: Open the Power Brick
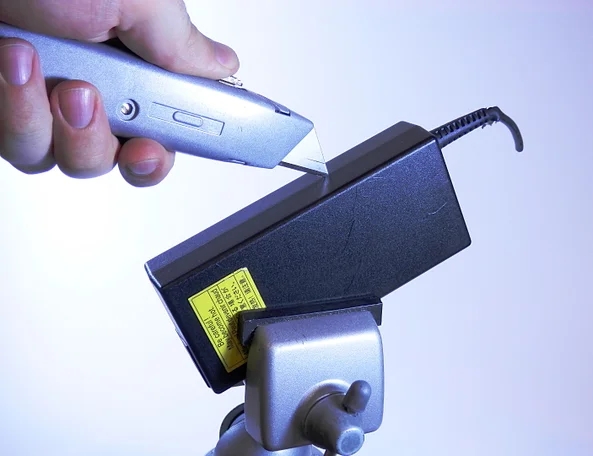
There are different types of power bricks out there. Some can be opened by any sharp blade and some are opened just by unscrewing the screws. So, have a look at your power brick and decide what would work best for you.
Step 02: Pry Off the Top
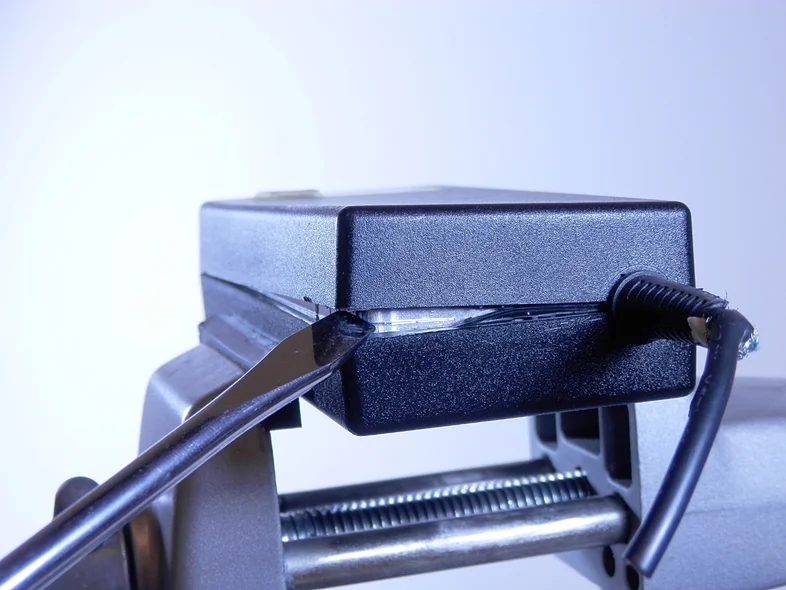
Once you’re done with the cutting along the seam, you can use a screwdriver to pry off the top and bottom parts of the plastic. Once both the parts are removed, you’ll be left with only the power brick with few electric connections.
Step 03: Desolder the Low Voltage Cable
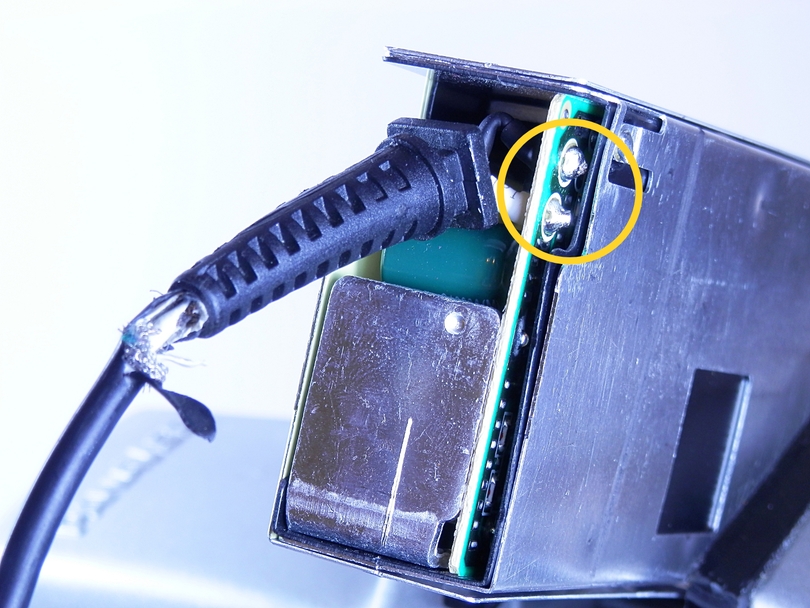
Now, you’ll be able to see the low voltage wire attached with the power brick. Simply unscrew / unsold the connection and separate the wire. But before detaching the wire, make sure that you remember the wire color and its connection with the circuit so that when you connect things back in order, you don’t mess things up at this point.
Step 04: Cut the Tip of the Low Voltage Wire
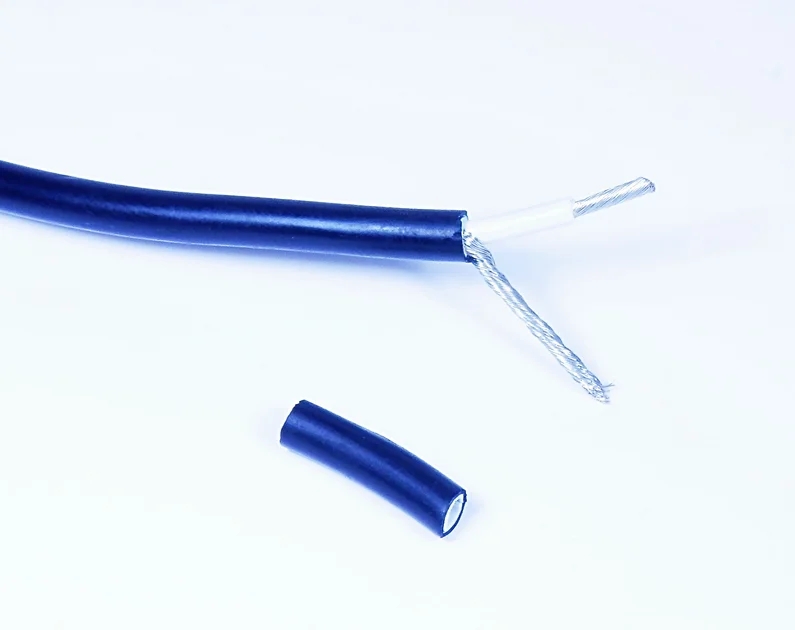
The issue is mostly with the low voltage wire. It wears off quite rapidly, especially from this connection point. Now that you’ve a separated wire, you can cut it using any sharp blade or a plier.
You only have to cut the tip of the wire, not a complete length of it. Just clip the end and remove the plastic coverings if there are any and twist the wires in order to connect them with the power brick.
Recall the color combination from Step 03 and screw the wires with the power brick.
Step 05: Assemble the Power Brick
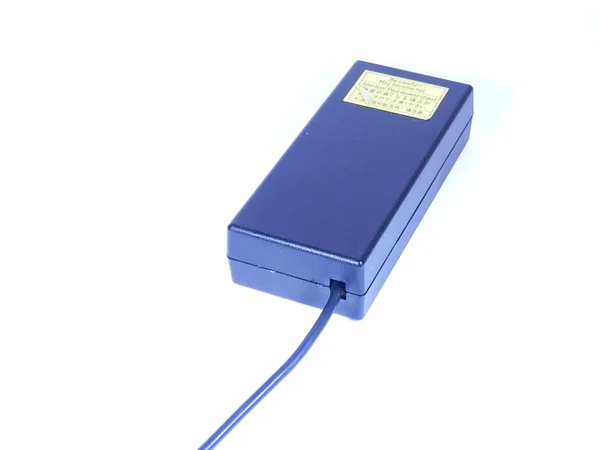
Once you’ve connected the low voltage wire with the power brick, it’s time to assemble things backwards. You can simply glue the plastic coverings that you removed in the first step back in place by either gluing it or by using the screws.
Step 06: Use Hot Glue for Strain Relief Part
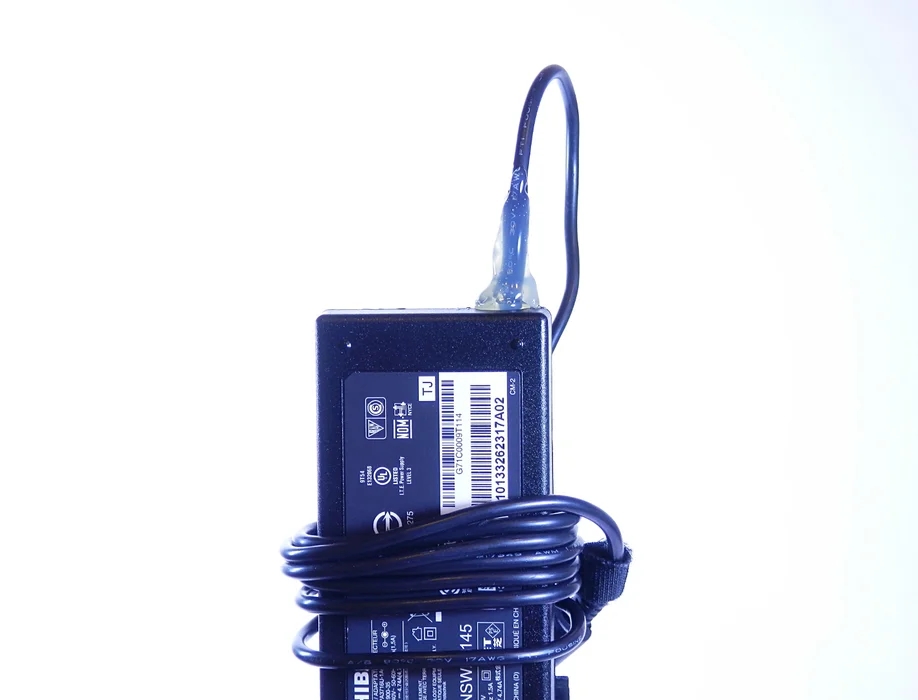
After cutting the tip of the low voltage wire, you might have lost your strain relief part of the wire and now you’ve a charger with a wire hanging out of your laptop adapter. You can easily make a strain relief by using hot glue and do a little bit of art with it so that when you accidentally pull the charging wire, it doesn’t come off.
